Have you ever wanted to set up WordPress menu for your website? WordPress Menus are the list of defined links to different posts and pages within your WordPress website. It is mostly placed at the top of the page so that the users can navigate to different sections of your website with ease.�
In this article, we will learn different ways to set up WordPress Menu. But, before that let�s know about WordPress Menu and its importance in more detail.
What is a WordPress Menu?�
In simple words, WordPress Menus are the list of arranged lists that are displayed at the top of your website. The menu mostly contains the primary area of your website. A lack of a menu may make your website less organised, as a result, it will create a negative impression among your clients and decrease the search engine ranking of your website.
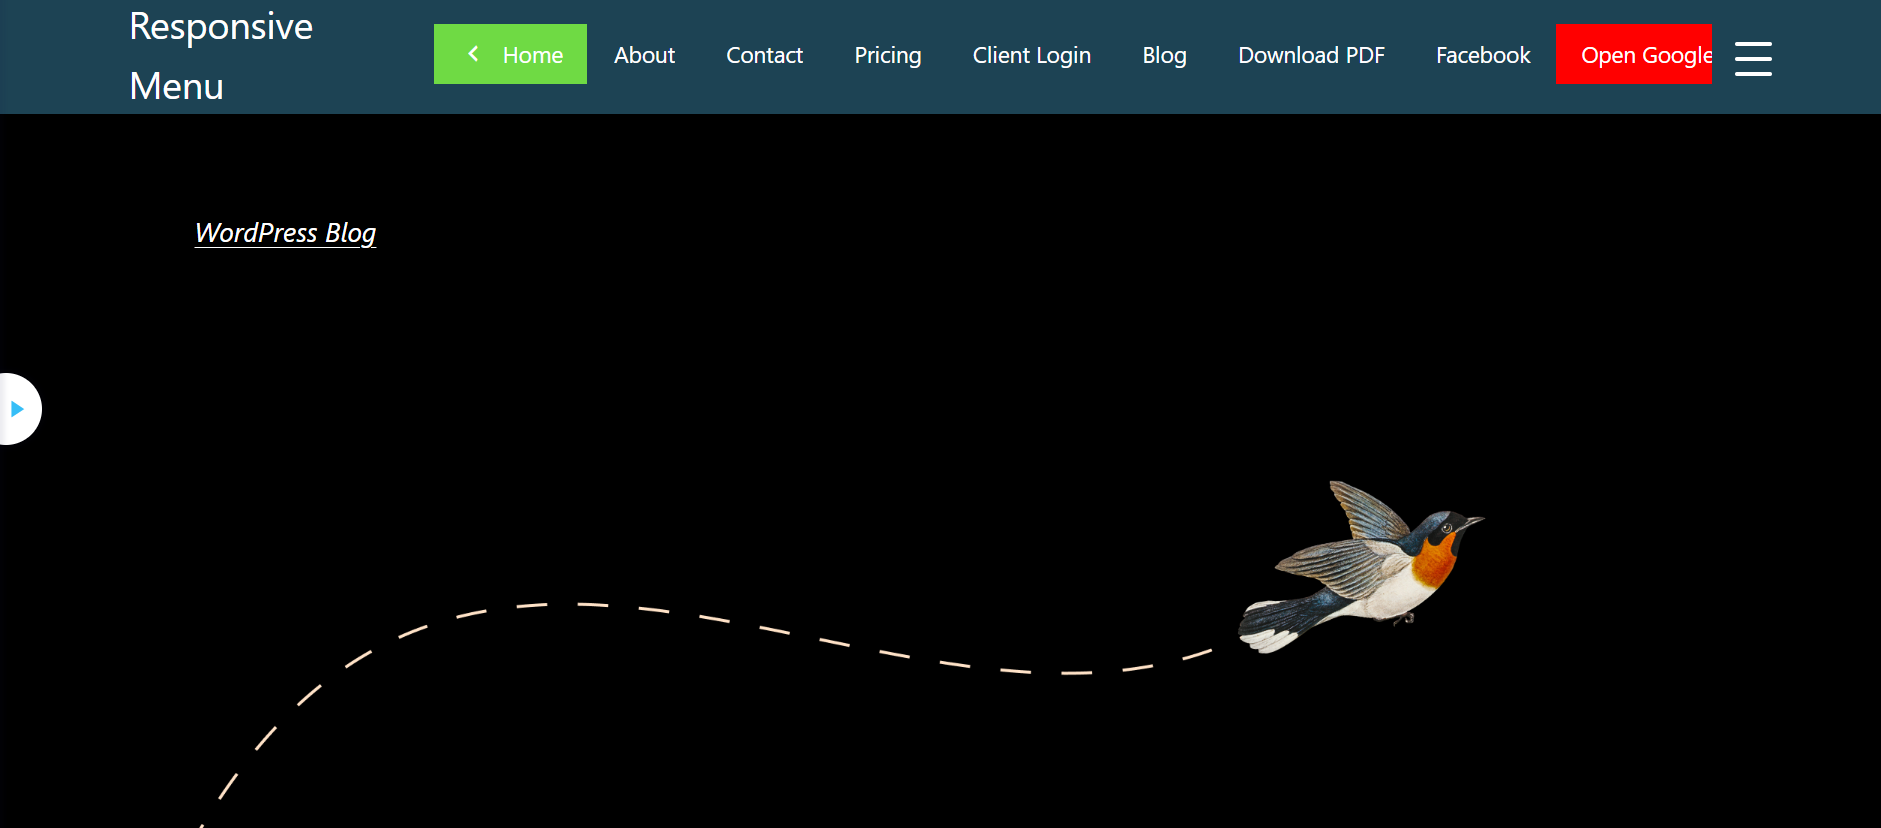
WordPress enables its users to add menus as well as sub-menus to their website. Menus can be used to add links to your most important pages, blogs, categories, pricing, contact and custom links such as social media profiles.�
Visitors can get to their specific content and pages without any hassle. Due to this reason, any of the important information on your website doesn�t have any fear of missing out. The menu�s function and design create a logical flow.�
Setup WordPress Menu – The Ultimate Guide
There are several ways to set up WordPress Menu. You can set up a WordPress menu from the customizer of your theme, WordPress Admin Panel or simply use a WordPress plugin.�
Now without any further delay let�s get forward to set up the WordPress menu with different methods:
Method 1: Create a Responsive Menu Using Responsive Menu Plugin�
Using a WordPress Plugin is the best method for WordPress Beginners as well as professionals who don�t want to do much coding.�
In this article, we have used Responsive Menus as it is one of the best WordPress Menu Plugins to create and set up a functional and professional WordPress Menu without any hassle.�
Step 1: Install and Activate the Responsive Menu Plugin�
First of all, in order to set up WordPress Menu, you need to Install and Activate the Responsive Menu Plugin on your WordPress website. If you haven�t installed the plugin yet, make sure to Install it!
Get Responsive Menu Plugin on the WordPress Repository or Official website as per your own convenience. You can even download the plugin directly from the website�s Dashboard.�
If you are a WordPress Beginner and you don�t know the right way to install a WordPress Plugin, make sure to go through our article �How to Install New WordPress Plugin��
After installing the plugin, Activate it.�
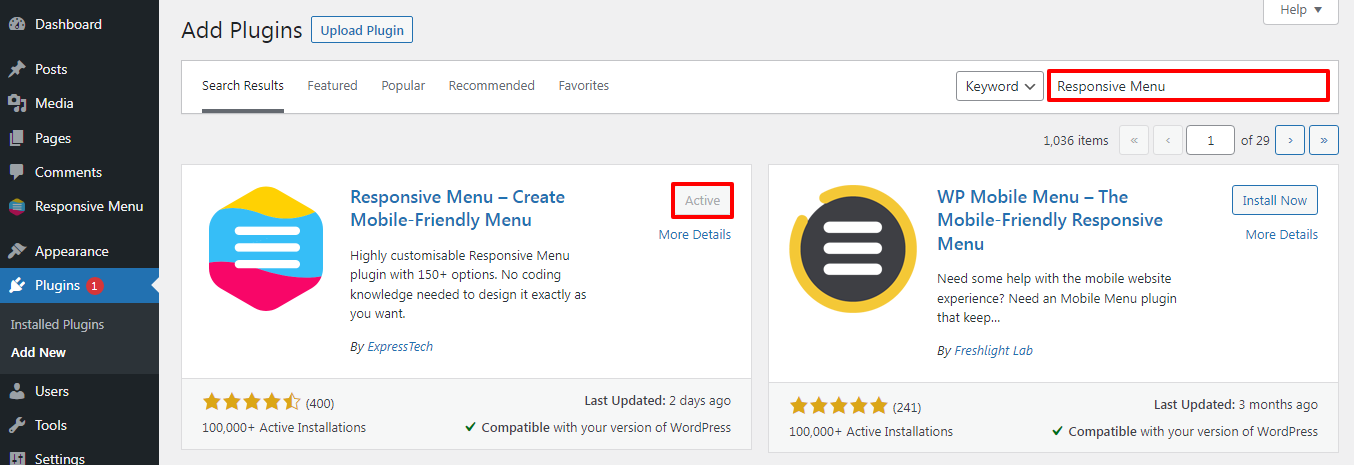
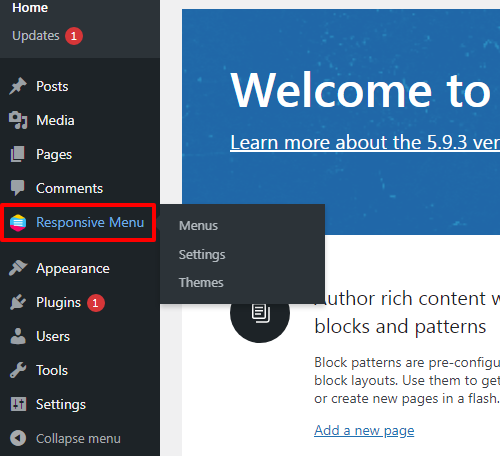
Now the Responsive Menu option will appear on the left sidebar of the page.�
Step 2: Setup a WordPress Menu
Make sure to follow this step-by-step guide to creating a WordPress Menu:�
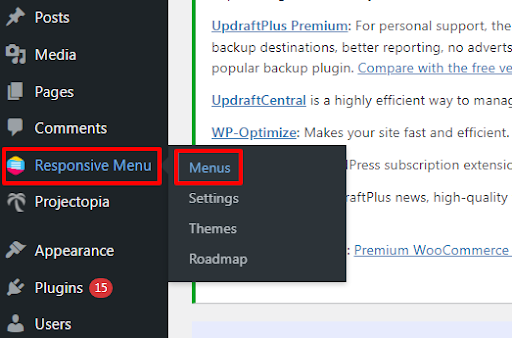
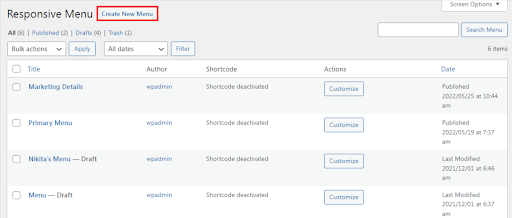
- Go to Responsive Menu>>Menus option at the left sidebar of the page.�
- Click on Create New Menu button at the top of the page.�
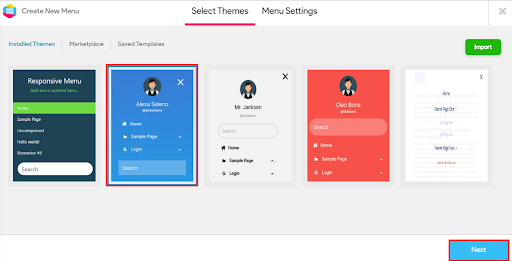
- There are four installed themes in the Responsive Menu plugin, choose them according to your preference.�
- Select a theme that meets your website�s menu needs.�
- Select Installed Theme and then click on the Next button.�
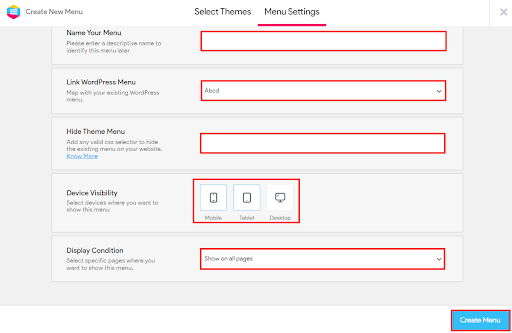
- In the Menu Settings, Make sure to Name Your Menu.�
- You can map your menu with the existing menu using the Link WordPress Menu�
- Add any valid CSS selector to hide the existing menu using the Hide Theme Menu option.�
- Responsive Menu WordPress plugin enables its users to show menus on mobile, tablet and desktop using the Device Visibility option.
- Choose the Display Condition for your menu from four different options. Get Responsive Menu Pro to use this feature.�
- Finally, click on Create Menu button.
- Choose to show your menu on the website�s Mobile, Tablet and/or Desktop.
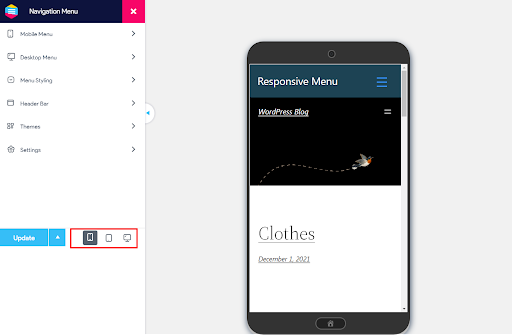
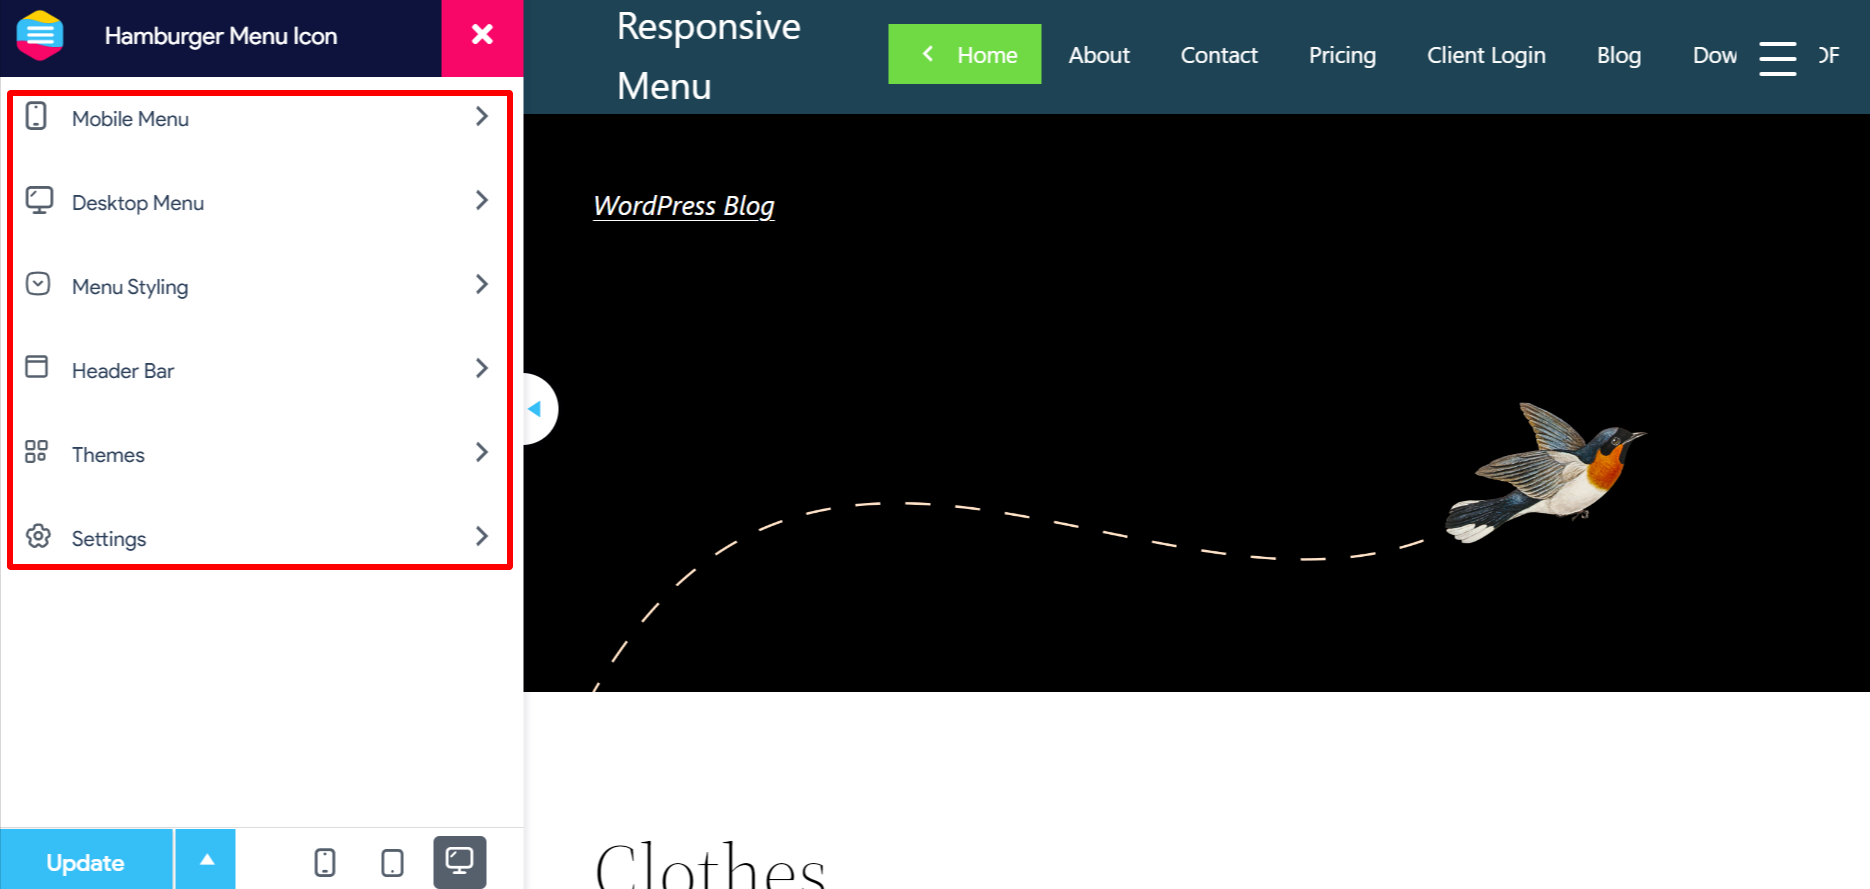
Step 3: Make Changes in Menu�s Overall Appearance
Once you are done Setting up the WordPress menu. You can make changes to Mobile Menu, Desktop Menu, Menu Styling, Header Bar, Themes and Settings as per your own requirement.�
If you have any sort of confusion go through our article �How to Make Responsive Navigation Menu in WordPress?�
This is the end of our first method to set up a WordPress menu using the Responsive Menu WordPress Plugin.�
Method 2: Set up WordPress Menu from Dashboard�
Go through the following steps to set up the WordPress menu:�
Step 1: Create a Menu�
- Go to Appearance>> Customize screen, then Menus option at the left sidebar of the page.�
- If you don�t have a menu set up already, click on the create a new menu option.�
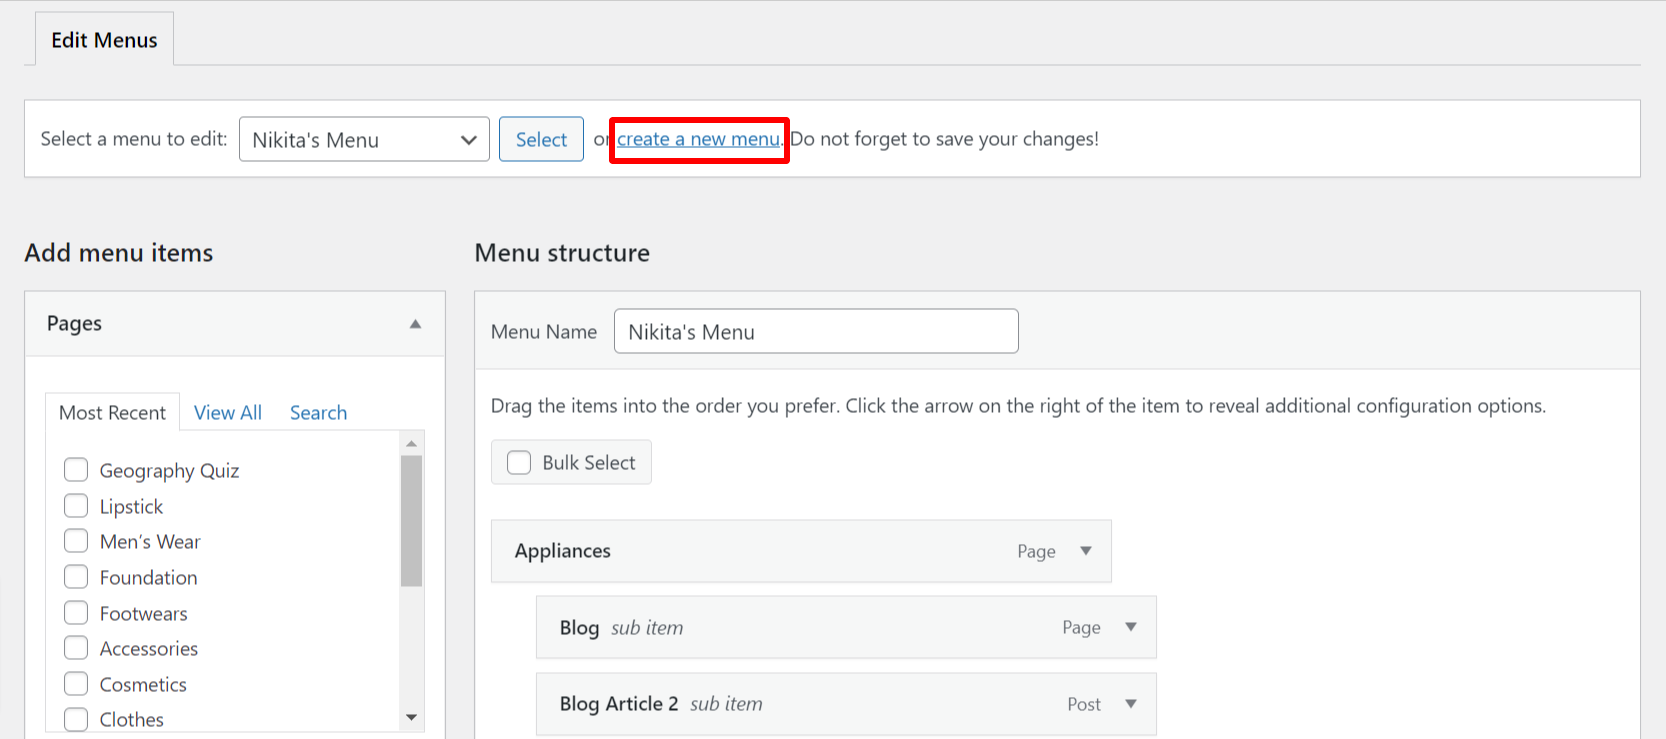
- Now name the menu and choose where it will appear.�
Note: When you set up the WordPress menu, be aware that your location depends on which theme you are using at the moment.�
- Click on the Next button at the end of the page.�
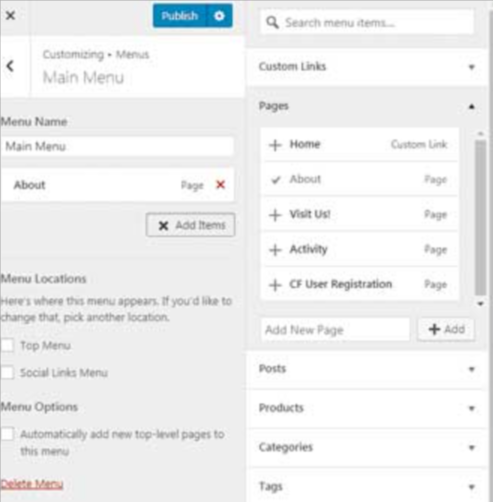
You�ll be presented with options that can be included in your menu. After this, you can begin building your menu.�
Step 2: Include the Navigation Items�
The best part about WordPress is that you can include any of the blog, page or posts to each and every new menu.�
- Click on the item that you want to include in your menu.�
- All of the Selected items will appear on the left side.�
- Select the red �X� icon if you want to delete any item.�
Step 3: Organize the Structure of the Menu�
- Hover the menu item and drag and drop them as per your own requirement.�
- Move your cursor and simply drag and drop items up and down to reorder it.�
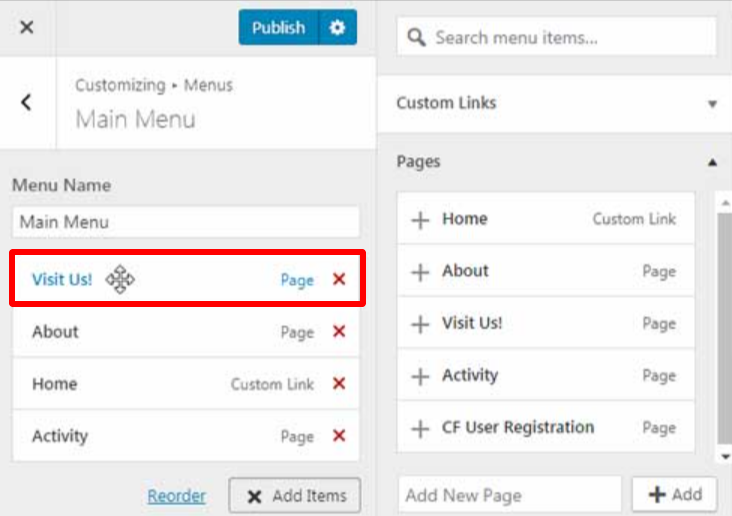
- Finally, click on the Publish button.�
This is the end of our second method to set up the WordPress menu.�
Wrapping UP:
We hope this article helped you to set up the WordPress menu without any hassle. Make sure to go through the entire article and follow that method that�s easier for you.�
Moreover, you don�t need to create a fuss while selecting a WordPress plugin as our research team has chosen this plugin considering its enriched features, customization options, ratings & customer reviews and much more.
If you have any sort of confusion while following this step-by-step guide to set up WordPress menu, feel free to ask us in the comment section below.�