
Desktop Menu
Desktop Menu
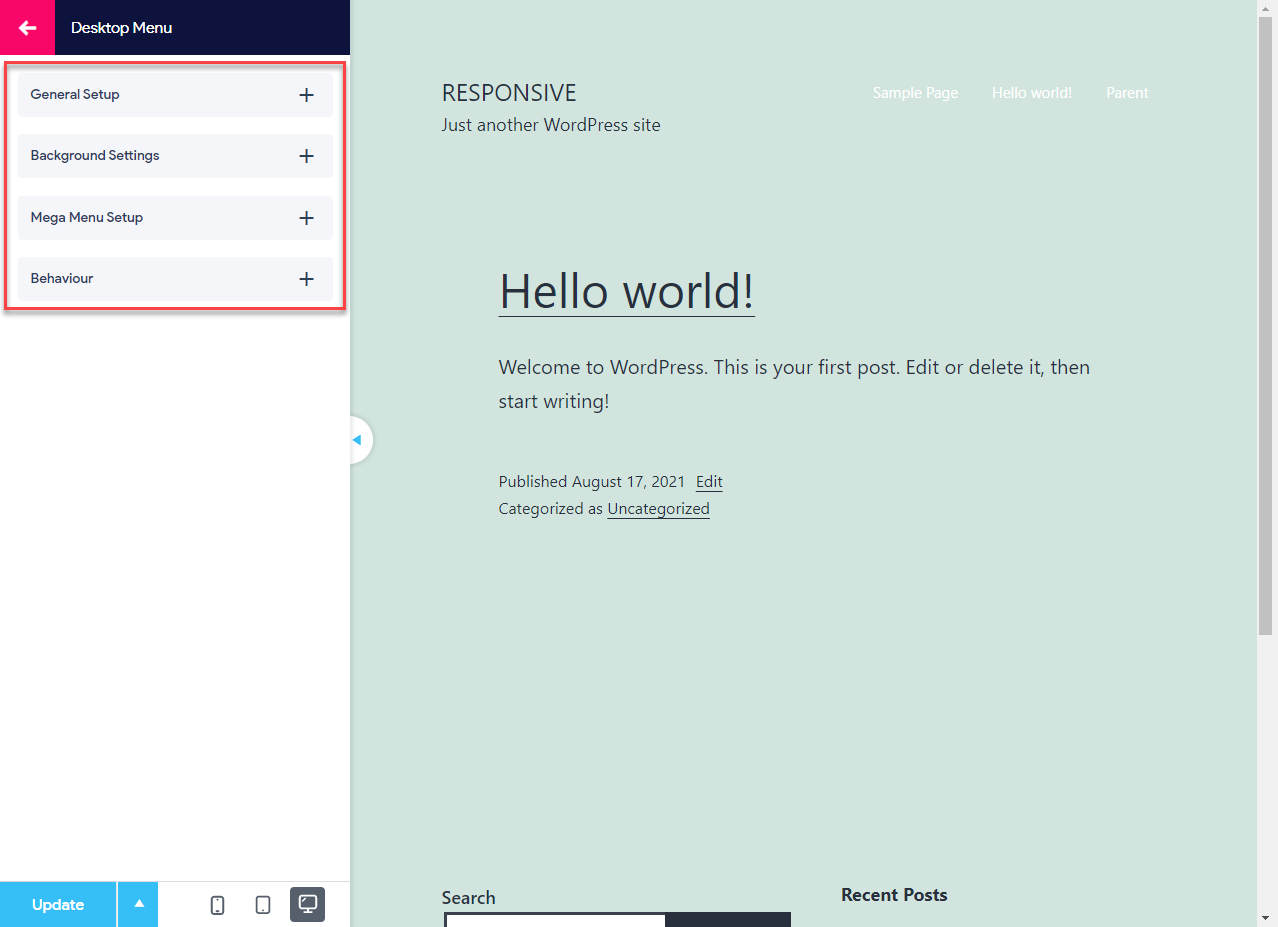
Desktop Menu is the second Menu Customization option that you will find while customizing your Responsive Menu. It further consists of four Sub Menu options specifically:
- General Setup – With this option, you can adjust the desktop menu’s appearance by changing its width, position, and alignment. You also can add various dropdown transition effects and tweak its transition speed.
- Background Settings – With this option you can manage the desktop menu’s background settings by applying solid or gradient colors.
- Mega Menu Setup – With this option, you can set up the mega menu by including existing WordPress menus and add various other blocks like Pages, Calendar, Categories, RSS Feeds, and more in the form of rows and columns and customize it as per your requirement.
- Behaviour – With this option you can configure the functioning and set how you want to display the Desktop menu and what happens when a user scrolls away from the active menu.
In the coming part of this documentation, we will learn more about what each submenu option further consists of and what is it intended to do.
Desktop Menu – General Setup, Background Settings, Mega Menu Setup, and Behaviour

In Desktop Menu’s General Setup you can adjust the appearance of your Menu by adjusting the Menu’s Width, Position, Alignment, and select the transition effect for the menu. You can also delay the transition to get the perfect transition speed. It also lets you hide the original menu to display a new responsive desktop menu.
Set the desktop menu view’s background to a single color, or apply a gradient between two colors.
It also has the option to set up a mega menu by including existing WordPress menus and add various other blocks like Pages, Calendar, Categories, RSS Feeds, and more in the form of rows and columns and customize it as per your requirement.
It also lets you configure the functioning and set how you want to display the Desktop menu and what happens when a user scrolls away from the active menu.
1. General Setup
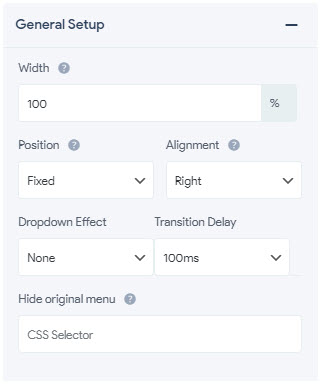
- Width – Lets you adjust the Menu Width to any size in pixels(px), percentage(%), emphasize(em), root em(rem), viewport width(vw), viewport height(vh) units
- Position – Lets you fix the position of the Menu on your page. You get options like Fixed, Absolute, and Relative
- Alignment – Lets you organize the Menu as required to the required location. You get the options like Left, Right, and Center
- Dropdown Effect – With this option, you can choose the required dropdown transition effect for your menu. You have the effects like Fade, FadeUp, SlideDown, SlideUp. If you do not want the menu to open up with a transition effect you can select the option as none and let the menu open up with the regular effect
- Transition Delay – With this option you can set the transition speed and delay the change over that happens with a user action. You can choose any speed ranging from 100ms to 1000ms
- Hide Original Menu – With this option, you can hide the old WordPress menu and replace it with the new Responsive Desktop Menu. So for that, you need to add a valid CSS selector that contains the original theme menu.
2. Background Settings
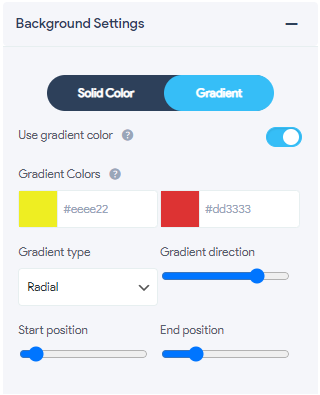
- Solid Color – Lets you set a solid background color. Note: Entering hex color code will overwrite the mobile menu background color.
- Gradient – Contains all the options related to setting up a gradient background.
- Use Gradient Color – Toggle this button to enable gradient color in the Desktop menu container.
- Gradient Colors – This lets you set and choose between the two-color gradients. Set it to any color of your choice using the color picker.
- Gradient Type – Set the Gradient Form Type, you can choose between two options Linear (Horizontal) and Radial (Circular).
- Gradient Direction – Lets you Control the Gradient Direction by adjusting the slider.
- Start Position – Lets you adjust the Start Position of the Gradient by adjusting the slider.
- End Position – Lets you adjust the End Position of the Gradient by adjusting the slider.
3. Mega Menu Setup
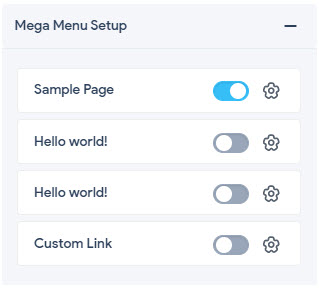
To configure the Mega Menu you first need to choose the menus to show in the Mega Menu Setup. For that, you need to toggle the button beside the menu name and then hit the settings icon.
Now, you will see a window opens up. Initially, the window will be blank and just a button to add a row will be visible. Now, to begin the configuration process you need to hit that button and select the structure of your new row.
You can select any row structure from the presented 10 structures with variable columns. Choose the one that will perfectly suit your menu. You can have any number of rows in your Mega Menu.
After adding the row with the chosen row structure the menu gets divided with the various column blocks.
Depending on the number of columns and their acquired area. Each column size can be extended or contracted with the help of the double-sided arrows. The column can be expanded to the length of 12 and can be reduced to 1.
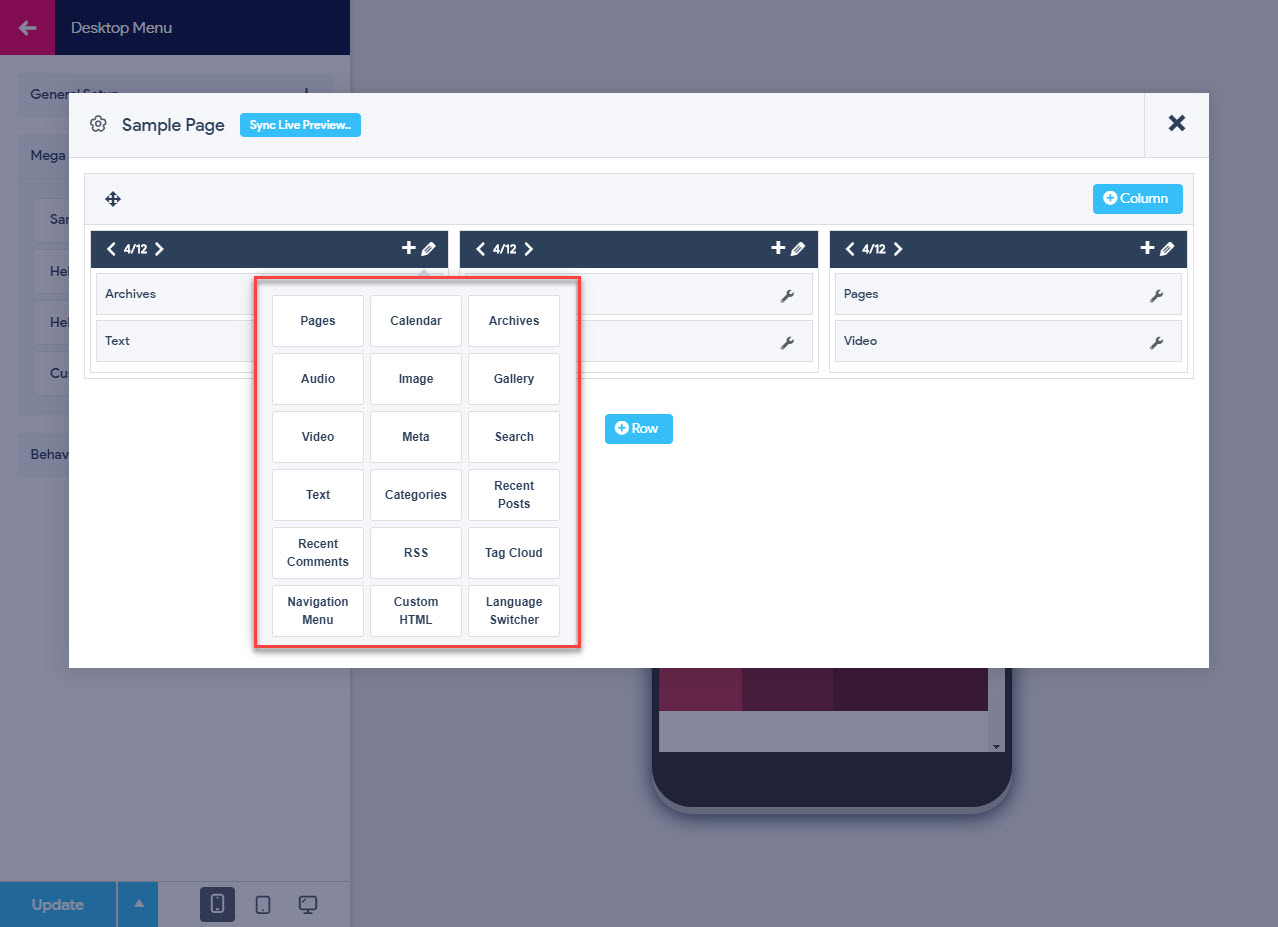
You can add various other WordPress Widgets inside your columns by pressing the + (plus) icon.
Get all the information related to Widgets here
You can adjust the Column Padding, Background Color and Background Hover Color for an individual column in the row. For that, you need to hit the Pencil Icon
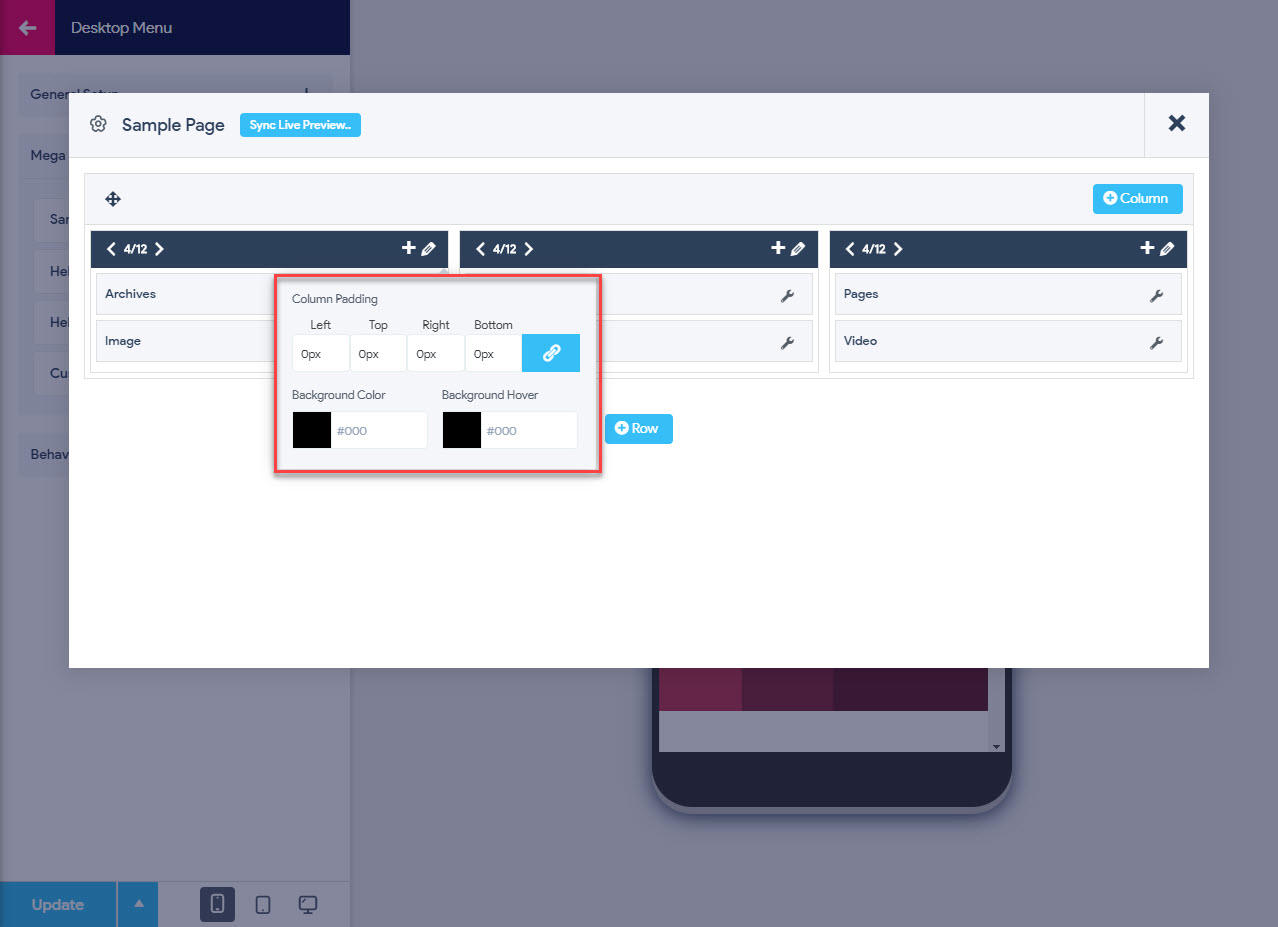
- Column Padding�
- Left � Lets you add Column Padding from the Left
- Top � Lets you add Column Padding from the Top
- Right � Lets you add Column Padding from the Right
- Botton � Lets you add Column Padding form the Bottom
- Background Color � Lets you set the color of the column. Set it to any color of your choice using the color picker
- Background Hover – Lets you set the background hover color of the column. Set it to any color of your choice using the color picker
You can change the sequence of widgets and arrange them as per the requirement by drag and drop over one another.
You can Also, the sequence of individual rows can be changed by drag and drop over one another.
4. Behaviour
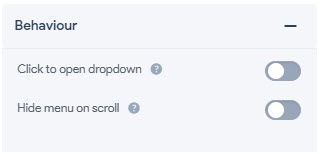
With this option, you can adjust the Menu behaviour and set how the menu performs or unfurls itself with the user action. You also get the option to hide the menu on the scroll.
- Click to open dropdown – By enabling this option you can set the menu to open up with a click. It uses the click event instead of the hover event to show the dropdowns
- Hide menu on scroll – By enabling this option you can hide the menu on a mouse scroll. It Hides on scroll-down and shows on scroll-up when the menu position fixed.
Mega Menu – Widgets
Mega Menu Configuration majorly depends on what widgets you choose. Here you have the option to add 15+ Widgets to your Menu.� These widgets can be added inside the columns by pressing the + (plus) icon
Following are all the WordPress widgets you can use on your Mega Menu:
1. Pages

With the Pages Widget, you can display various pages from your website on your Mega Menu. To configure this you need to specify the Page Title, choose how you need the pages to be sorted, and denote the Page Ids of those pages that need to be excluded from the same.
- Title – Mention the title of the page to display
- Sort By -� Select this option to sort the pages by the Page Title, Page Order, or Page ID
- Exclude – Here you need to mention the Page IDs of the pages that need to be excluded from the menu. You need to mention the Page IDs separated by Commas for the same.
After you’ve made the required changes hit the Save button or press Done by which it automatically gets saved. If you need to discard the card, press the Delete button and the card will be deleted.
2. Calendar
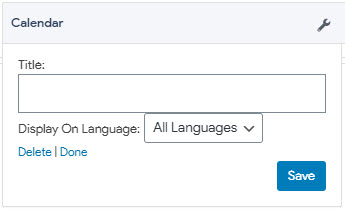
With the help of the Calendar Widget, you can display a calendar of your site�s posts on your Mega Menu. You just need to choose a calendar card and mention the calendar title which you want to display.
- Title – Mention the title of the calendar to display
After you’ve made the required changes hit the Save button or press Done by which it automatically gets saved. If you need to discard the card, press the Delete button and the card will be deleted.
3. Archives
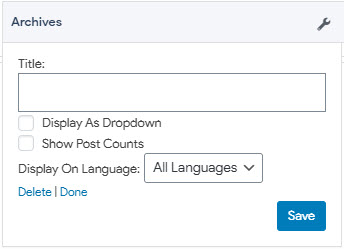
With the help of the Archives Widget, you can display a monthly archive of your site�s Posts on the menu.� You need to mention the Archives title and whether you want to display it as a dropdown and also with the posts count.
- Title – Mention the title of the archives to display
- Display as Dropdown – If enabled it lets you display the archived posts as a dropdown
- Show Posts Counts� – If enabled it will show the posts count
After you’ve made the required changes hit the Save button or press Done by which it automatically gets saved. If you need to discard the card, press the Delete button and the card will be deleted.
4. Audio

With the help of the Audio Widget, you can display an audio player on the Mega Menu. For that, you need to add an audio file by selecting from one of the existing files in your WordPress Media Library or get it uploaded fresh from your computer.
- Title – Mention the title of the audio to list on the menu
- Add Audio – This option lets you upload the audio file from your system or gain it from the WordPress Media Library
After you’ve made the required changes hit the Save button or press Done by which it automatically gets saved. If you need to discard the card, press the Delete button and the card will be deleted.
5. Image

With the Image Widget, you can add an image file by selecting from one of the existing files in your WordPress Media Library or get it uploaded fresh from your computer.
- Title – Mention the title of the image to list on the menu
- Add Image– This option lets you upload the image file from your system or gain it from the WordPress Media Library
After you’ve made the required changes hit the Save button or press Done by which it automatically gets saved. If you need to discard the card, press the Delete button and the card will be deleted.
6. Gallery
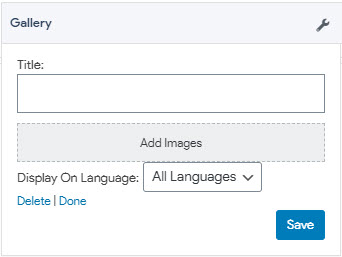
With the help of the Gallery Widget, you can add an image gallery to the menu by selecting images from the existing files in your WordPress Media Library or get it uploaded fresh from your computer.
- Title – Mention the title of the image gallery to list on the menu
- Add Images– This option lets you upload the image files from your system or obtain it from the WordPress Media Library
After you’ve made the required changes hit the Save button or press Done by which it automatically gets saved. If you need to discard the card, press the Delete button and the card will be deleted.
7. Video

With the help of the Video Widget, you can display a video from the media library or from YouTube, Vimeo, or another provider.
- Title – Mention the title of the video to list on the menu
- Add Video – This option lets you upload the video file from your system or gain it from the WordPress Media Library
After you’ve made the required changes hit the Save button or press Done by which it automatically gets saved. If you need to discard the card, press the Delete button and the card will be deleted.
8. Meta
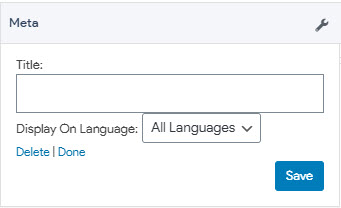
With the help of the Meta Widget, you can add meta Login, RSS, & WordPress.org links.
- Title – Mention the title of the Meta Widget to list on the menu
After you’ve made the required changes hit the Save button or press Done by which it automatically gets saved. If you need to discard the card, press the Delete button and the card will be deleted.
9. Search

With the help of the Search Widget, you can add a search form for your site option to your menu.
- Title – Mention the title of the search bar to list on the menu
After you’ve made the required changes hit the Save button or press Done by which it automatically gets saved. If you need to discard the card, press the Delete button and the card will be deleted.
10. Text
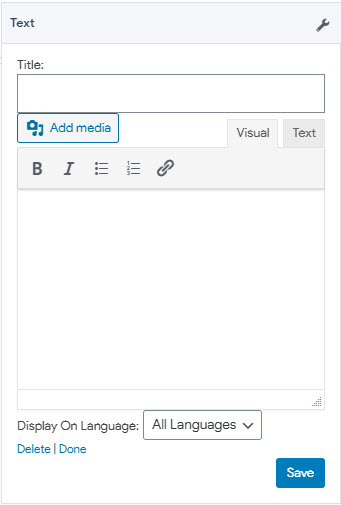
With the help of the Text Widget, you can display some Arbitrary text to your menu. You have the option of formatting the text and adding other media.
- Title – Mention the title of the text to list on the menu
- Text Area – Here you can add the text that you would want to display on the menu.
After you’ve made the required changes hit the Save button or press Done by which it automatically gets saved. If you need to discard the card, press the Delete button and the card will be deleted.
11. Categories
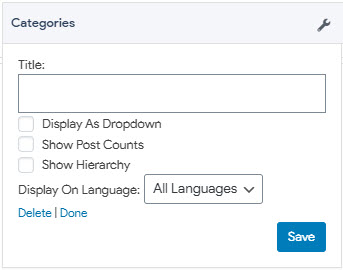
With the help of the Categories Widget, You can display various categories from your website on your Mega Menu. To configure this you need to specify the Category title and whether you want to display it as a dropdown along with the posts count and hierarchy.
- Title – Mention the title of the categories to display
- Display as Dropdown – If enabled it lets you display the list of categories as a dropdown
- Show Posts Counts� – If enabled it will show the posts count
- Show Hierarchy -� If enabled it will show the category hierarchy
After you’ve made the required changes hit the Save button or press Done by which it automatically gets saved. If you need to discard the card, press the Delete button and the card will be deleted.
12. Recent Posts
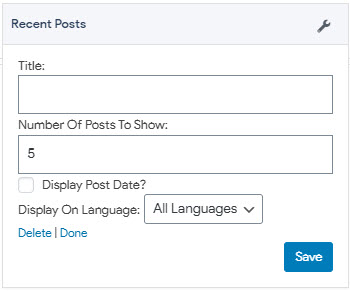
With the help of the Recent Posts Widget, You can display your site�s most recent posts on your Mega Menu. To configure this you need to specify the Posts Title, set the number of pages to show, and choose whether to display the post date or not.
- Title – Mention the title of the post� to display
- Number Of Posts To Show -� Mention the number of pages you would like to show on the menu
- Display Post Date? – If enabled it will display the post date along with the recent posts
After you’ve made the required changes hit the Save button or press Done by which it automatically gets saved. If you need to discard the card, press the Delete button and the card will be deleted.
13. Recent Comments

With the help of the Recent Posts Widget, You can display your site�s most recent comments on your Mega Menu. To configure this you need to specify the comments Title and set the number of comments to show.
- Title – Mention the title of the comments to display
- Number Of Comments To Show – Mention the number of comments you would like to show on the menu
After you’ve made the required changes hit the Save button or press Done by which it automatically gets saved. If you need to discard the card, press the Delete button and the card will be deleted.
14. RSS
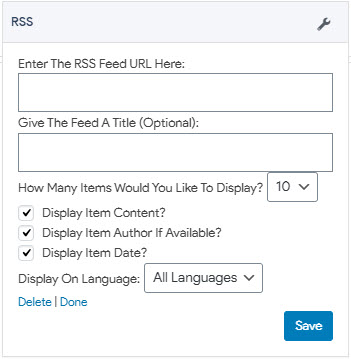
With the help of the RSS Widget, You can display the Entries from any RSS or Atom feed directly on your Mega Menu. To configure this you need to specify the RSS Feed URL and give the feed a title. Also, you need to select the number of items you would like to display along with the Item Content, Item Author, and the Item date.
- Enter The RSS Feed URL Here – Here you need to mention the RSS feed URL
- Give The Feed A Title – Here you need to provide a suitable title for the feed
- How Many Items Would You Like To Display? – Select the number of feed items to display on the menu
- Display Item Author If Available? –
- Display Item Date? –
After you’ve made the required changes hit the Save button or press Done by which it automatically gets saved. If you need to discard the card, press the Delete button and the card will be deleted.
15. Tag Cloud
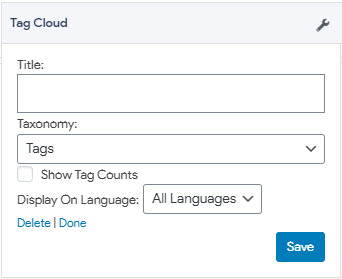
With the help of the Tag Cloud Widget, You can display a cloud of your most used tags generated directly on your Mega Menu. To configure this you need to specify a title and mention from where you need to pick up the tag names for the cloud. Also, you will have the option to display the tag count.
- Title – Mention the title of the Tag Cloud
- Taxonomy – Select the item from where you want to tag names to be picked up. You have the taxonomy options like Categories, Tags, and Link Categories
- Show Tag Counts – If enabled it will show the tags count
After you’ve made the required changes hit the Save button or press Done by which it automatically gets saved. If you need to discard the card, press the Delete button and the card will be deleted.
16. Navigation Menu
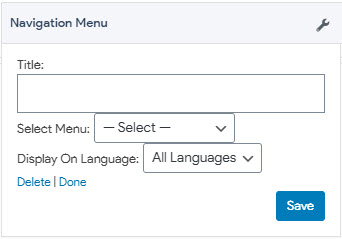
With the help of the Navigation Menu Widget, you can display a navigation menu on the mega menu. You will have the option to select which menu you want to display.
- Title – Mention the title of the Navigation Menu
- Select Menu – Select the menu type you would like to display based on the default WordPress navigation menus. You can choose any of the WordPress menus from the dropdown
After you’ve made the required changes hit the Save button or press Done by which it automatically gets saved. If you need to discard the card, press the Delete button and the card will be deleted.
17. Custom HTML
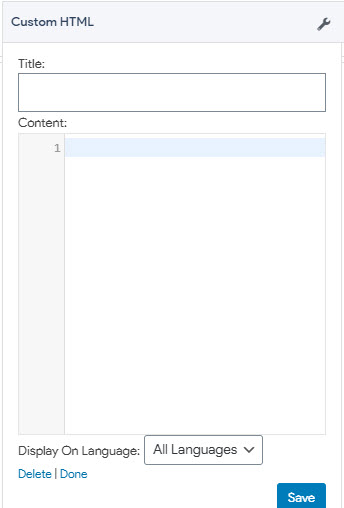
With the help of the Custom HTML Widget, you can add an arbitrary HTML code block to the mega menu.
- Title – Mention the title of the Custom HTML code
- Content -� Here you need to type/paste the custom code that you want to display.
After you’ve made the required changes hit the Save button or press Done by which it automatically gets saved. If you need to discard the card, press the Delete button and the card will be deleted.