
Integrate Responsive Menu with WPML
It becomes necessary to integrate RM with WPML if you are dealing with visitors who understand specific languages and if your website is already running in multiple languages.
In this tutorial, we integrate Responsive Menu Pro with the WPML plugin you need to follow the below-mentioned steps.
Step 1:�Be on the Latest Version of the Responsive Menu Pro. Check for plugin updates, if you find product updates in the plugins section make sure to update them.
Step 2: We need to Install and configure WPML if you haven�t already, follow the below-mentioned steps
a) To install WPML, log into your�WPML Account�and go to the Downloads page to download the OTGS installer plugin
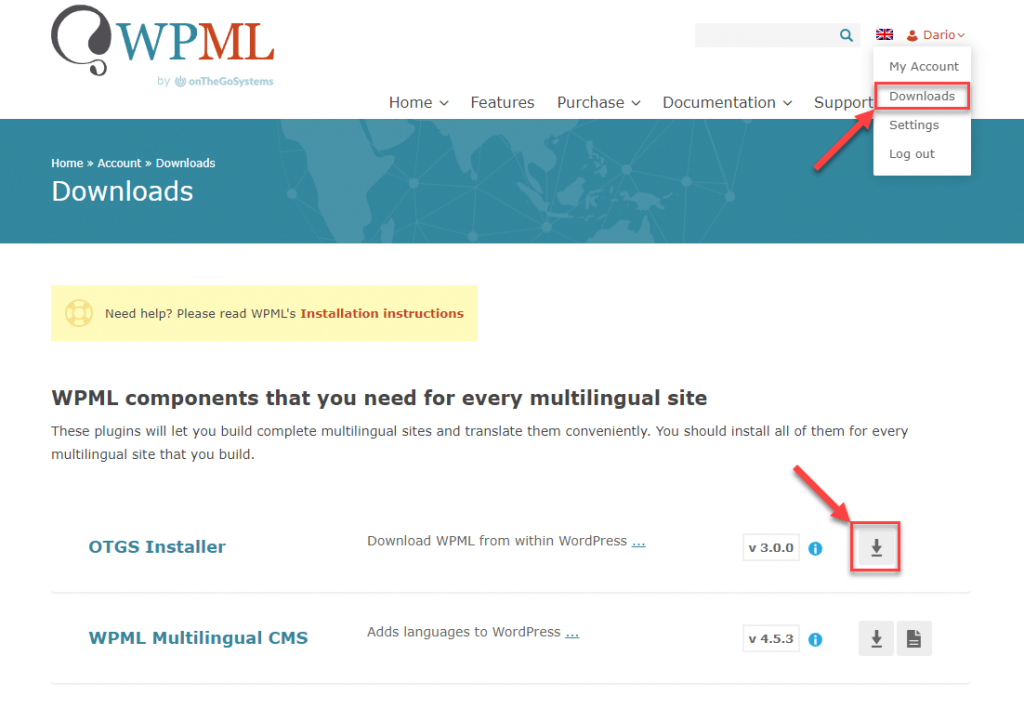
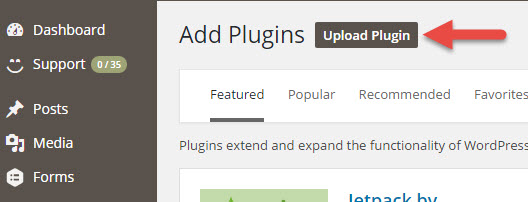
b) Upload and activate the OTGS installer plugin
c) After installation, click on the Register WPML link and then �Get a key for this site�. This will take you to your WPML account

d) Generate a key and copy-paste it back to your site.
e) After registering, you can see a list of all available WPML plugins for you to download and activate, you can download and activate any WPML component from the list.

f) After WPML installation & activation you now need to configure it, for that click on the Configure WPML button on the admin notice that can be found on the top of the screen.
g) A setup wizard opens up with various configuration tabs.

h) Selecting Languages, Select all the languages that you want to translate your site into
i) WPML offers various translation options, you can choose how you�d want to translate your site. You can go with automatic translation, local translators, translate yourself or use a translation service.
Step 3:�Depending on the languages installed on your website and the default language set (English in this case), you now need to check the Editing Language checkbox in the WPML Language Settings.

To do so, navigate to�Users�->�Profile�->�WPML Language Settings�->�Editing Languages. Check the option -> Set admin language as editing language.
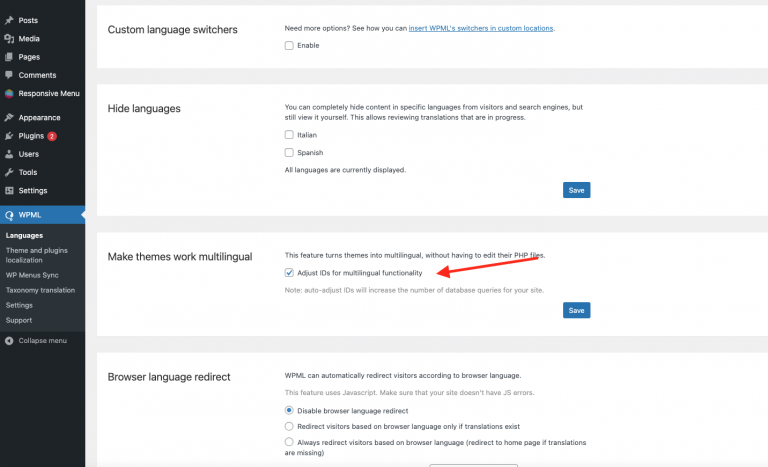
Step 4:�Now, you need to enable the option that says make themes work multilingual from the WPML plugin navigate to�Languages�->�Make Theme work multi-lingual. Check the option.
Step 5:�Ensure the Post Type Translation is set to �Not Translatable� for the Responsive Menu. This can be done by navigating to�WPML�->�Settings�->�Post Types Translation

Step 6:�Create pages in English (Default Language) and translate them to other preferred languages. In this example, the pages are translated to Spanish and Italian respectively.

Step 7:�Create an English Menu (Default Language) by navigating to�Appearance�->�Menus. Create an English menu.

Step 8:�Switch to Italian (or your preferred language) in the admin language switcher and create an Italian menu and select as the translation of the English menu.

Repeat this step for the other language, in this case, for the Spanish Menu.
Step 9:�Now, Switch back to English in the admin language switcher of WPML. Go to�Responsive Menu�->�Menus�to create a menu for English.
Step 10:�Navigate to the Responsive Menu Plugin and set up the Mega Menu for English Menu.
Step 11:�Switch to Italian in the admin language switcher of WPML. Go to Responsive Menu -> Menus to create a menu for Italian.
Step 12:�Now set up Mega Menu for Italian, watch this video.
Repeat steps 11 and 12 for setting up the Spanish Menu.
And, this is the final result.
So this is how you Integrate the Responsive Menu with WPML. If you face any difficulty during the integration process you can�raise a support ticket here.